For Cipher to access the label output directory on the EBS server, public and private SSH keys need to be created on the Cipher application server and the EBS OS service user account.
First, we will generate the public and private SSH keys on the Cipher server.
- Log into the Cipher application server as the cipher user.
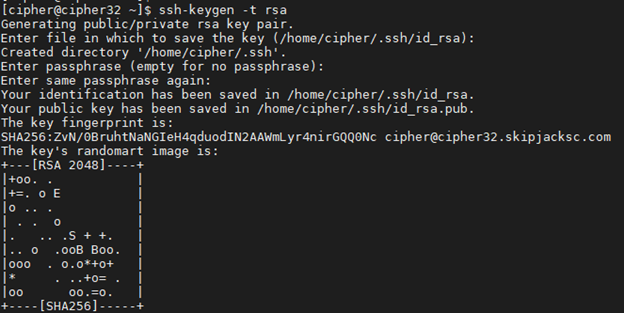
- Execute the following command to create a public and private SSH key. Just use the default options.
-
ssh-keygen -t rsa
-
- This will create the following files under the ~/.ssh directory.

- Create a copy of the id_rsa.pub as cipher.pub.
-
cp ~/.ssh/id_rsa.pub ~/.ssh/cipher.pub

-
- Copy the cipher.pub file to the ~/.ssh directory on the EBS server where the OS service user account was created. In our example this is the /home/cipher/.ssh directory on our EBS database server. If the .ssh directory doesn’t exist, create the directory first.
Once you are done with the public and private key setup on the Cipher application server, log into the EBS server hosting the label output directory with the OS service user account created under the “Setup EBS OS Service User Account”.
- Log in as the new OS service user account. In our example this is the cipher user.
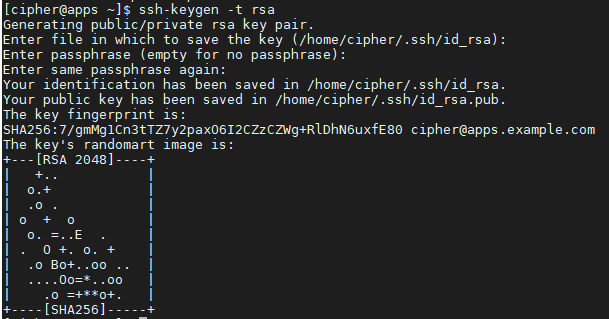
- Execute the following command to create a public and private SSH key. Just use the default options.
-
ssh-keygen -t rsa
-
- This will create the following files under the ~/.ssh directory:

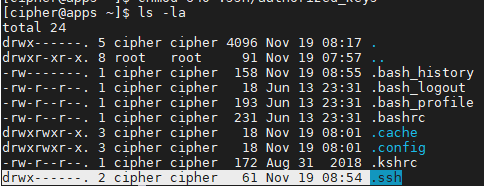
- Change the permissions on the ~/.ssh directory of the OS service user account user to 700.
-
chmod 700 ~/.ssh
-
- Copy the cipher.pub file created on the Cipher application server to the ~/.ssh directory of the OS service user account.
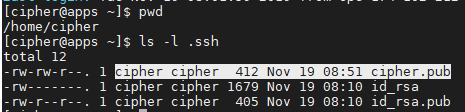
- Rename the cipher.pub to authorized_keys under the ~/.ssh directory.
-
mv ~/.ssh/cipher.pub ~/.ssh/authorized_keys

-
- Change the permissions on the ~/.ssh/authorized_keys to 640.
-
chmod 640 ~/.ssh/authorized_keys

-
Now that the public and private keys have been setup, test connecting the EBS OS service user account from the Cipher application server. You should be able to SSH as this user without being prompted for a password. If you still get prompted for a password, double check the file and directory permissions above. If that still doesn’t work consult your Linux distributions SSH documentation for setting up SSH without a password.
- Log into the Cipher server with the cipher user via SSH.
- Execute the following command to test your SSH access to the EBS server.
- Make sure you type “yes” if the message “The authenticity of host can’t be established” message appears.
-
ssh <SERVICE_ACCOUNT>@<EBS_HOST>
- SERVICE_ACCOUNT: The EBS OS user service account.
- EBS_HOST: The host of the EBS server.
- e.g.
ssh cipher@132.145.205.111

- If successful, you will not be prompted for a password and will immediately log in as the OS service user account on the EBS server.