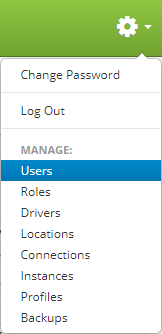
Users are accessed by clicking the gear icon  in the upper right hand corner of the page and clicking on Users.
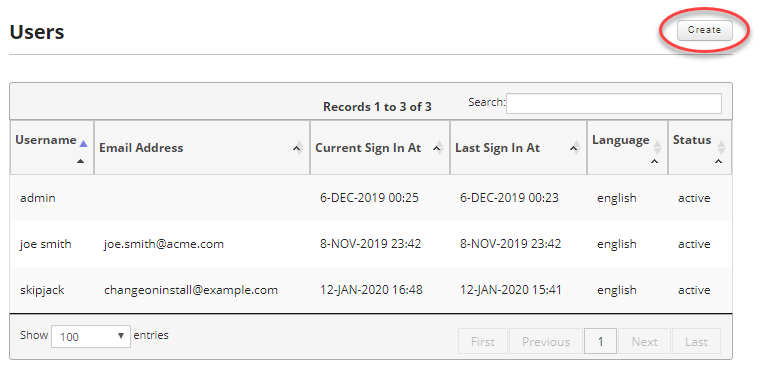
Once you are on the users page, click on the Create button in the upper right hand of the screen to create a new user.
While setting up the new user you will have the option to define what roles to assign for this user for each instance as well as what locations.
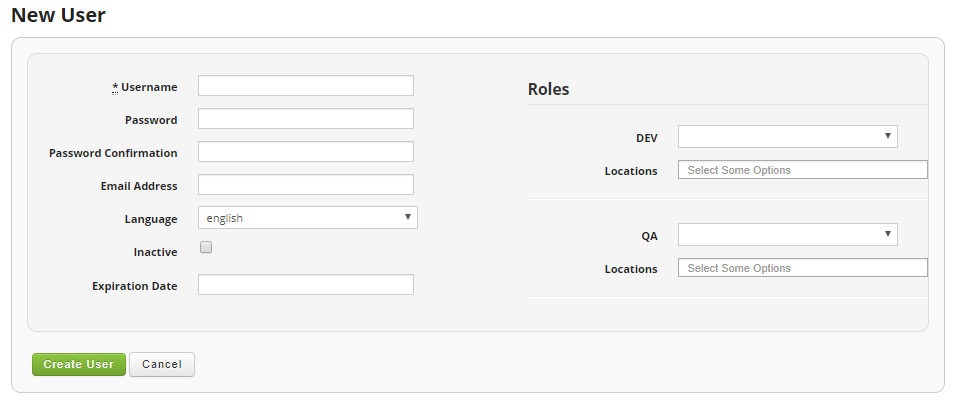
Fields:
- Username (Required): User login name.
- Password (Required): The desired user password.
- Password Confirmation: Repeat the user password.
- Email Address: Optional e-mail address.
- Language: Desired language. At present the options are English, Spanish, Italian, and Japanese.
- Inactive: If you wish the user to be in active, you can check this check box.
- Expiration Date: Optionally set an expiration date for the user.
Assigning Roles
On the right side of the user creation form is a set of roles and locations for your defined instances. Your list will vary depending on the number and names of instances and locations you have created.
Using the drop down next to each instance name you can assign a role for the user you are creating for a given instance. The list of roles will depend on what roles you have defined.
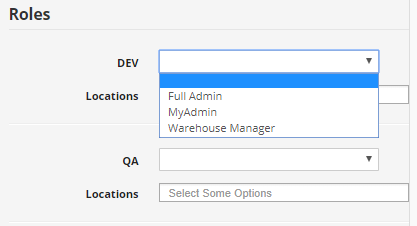
In the locations input you can assign locations to the user by typing in the name of the locations you have defined for the instance. As soon as you click in the input field a list of possible locations will appear. You can either select from the list or type in the location names and press enter. You can place multiple locations in the input box.

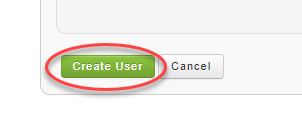
Once you are satisfied, click the Create User button to save your newly created user.