Before creating a printer pool make sure you have already created all of the printers that you want in your printer pool. This isn't required, but it does make it easier to have the printers created ahead of time so that you can add the printers at the time of the printer pool creation.
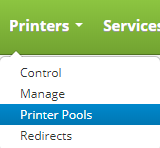
Printer Pools are accessed by clicking on the Printers drop down on the main menu and clicking on Printer Pools.
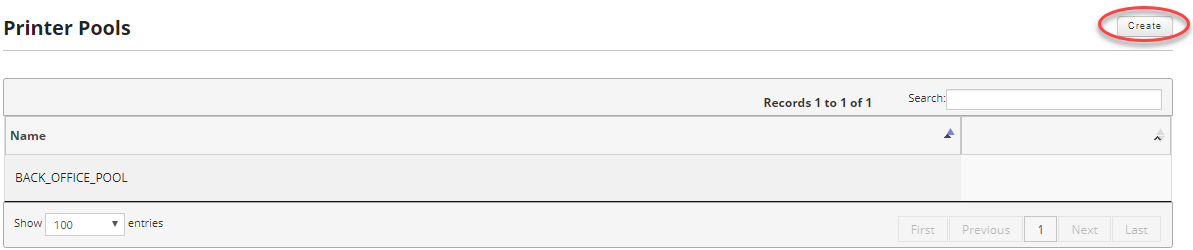
Once on the Printer Pools screen click on the Create button on the upper right.
The following screen will allow you to define your printer pool.
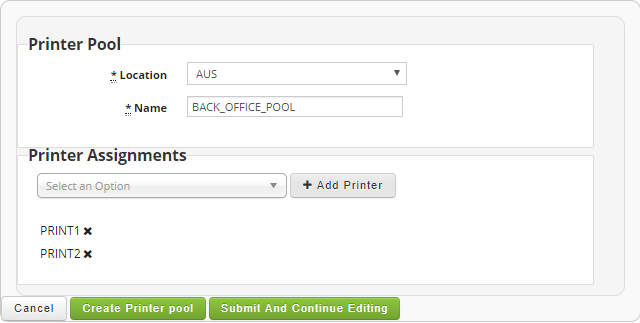
Fields:
- Location: The location you want associated with your new printer pool. The location you choose will restrict what printers you can add to the printer pool's location.
- Name: The name of the printer pool. This name has to match a corresponding printer name in EBS in order to print to the printer pool.
Printer Assignment
As stated above, the printers you will have available to add to the printer pool depends on the location selected for the printer pool. If you do not see the printers you expect you either need to change the location assigned to the pool or make sure you assign the printers to the location you have selected.
To assign a printer to the pool, select the printer from the drop down next to the "Add Printer" button. Note that printers you already have assigned to the pool will be a lighter color than the others on the list. Once you have selected the printer you want to add, click the "+ Add Printer" button.
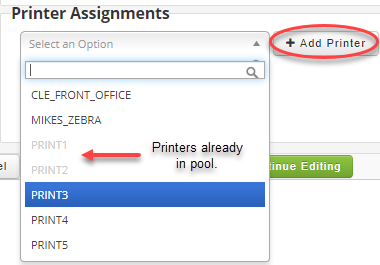
Once satisfied you can click on either the "Create Printer Pool" or "Submit And Continue Editing" buttons to save your printer pool.

It is important to note that a printer pool is a virtual printer. However, it will not show up in the printer manager. You will need to ensure that the name of your printer pool is registered as a printer in EBS with the same name in order to use it.