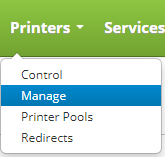
Create a printer by clicking on the Printers drop down menu on the main menu and clicking on Manage.
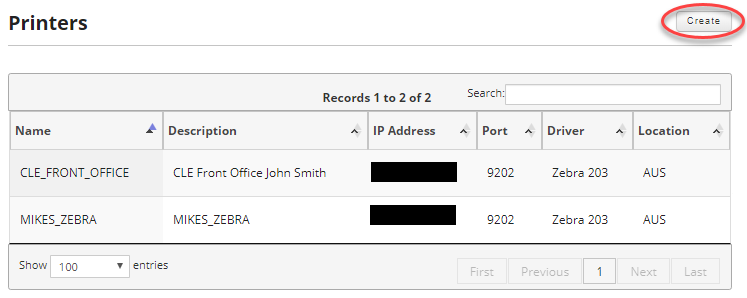
Once on the printers page, click on the Create button in the upper right hand corner of the screen to create a new printer.
Fill out the following form to add your new printer.
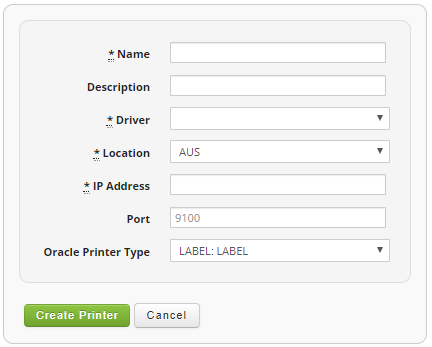
Fields:
- Printer: Enter the printer name. If you already have Oracle printers setup, and you are adding the existing Oracle printers to Cipher, make sure that you are entering the new printer's name exactly as it is entered in Oracle to avoid issues.
- Description: Enter the description of the location of the printer.
- Driver: Select the correct driver from the drop down list. If the driver does not exist for the printer you are trying to setup please see the Creating a Driver article to add a new driver.
- Location: The location or inventory organization that the printer will reside. If you don't see the location you need for the printer, please see the Creating a Location article to add a new location.
- IP Address: Enter the IP address from the actual printer you are trying to setup.
- Port: The printer port or print server port if other than 9100.
- Oracle Printer Type: This will display a list of Oracle Printer Types from your default connection for the instance you are adding the printer to. If the list is empty make sure you setup a default connection for your instance before you add any printers. See Creating a Connection for details on creating a database connection for your instance.
Once you are satisfied, click on the "Create Printer" button to create your new printer.